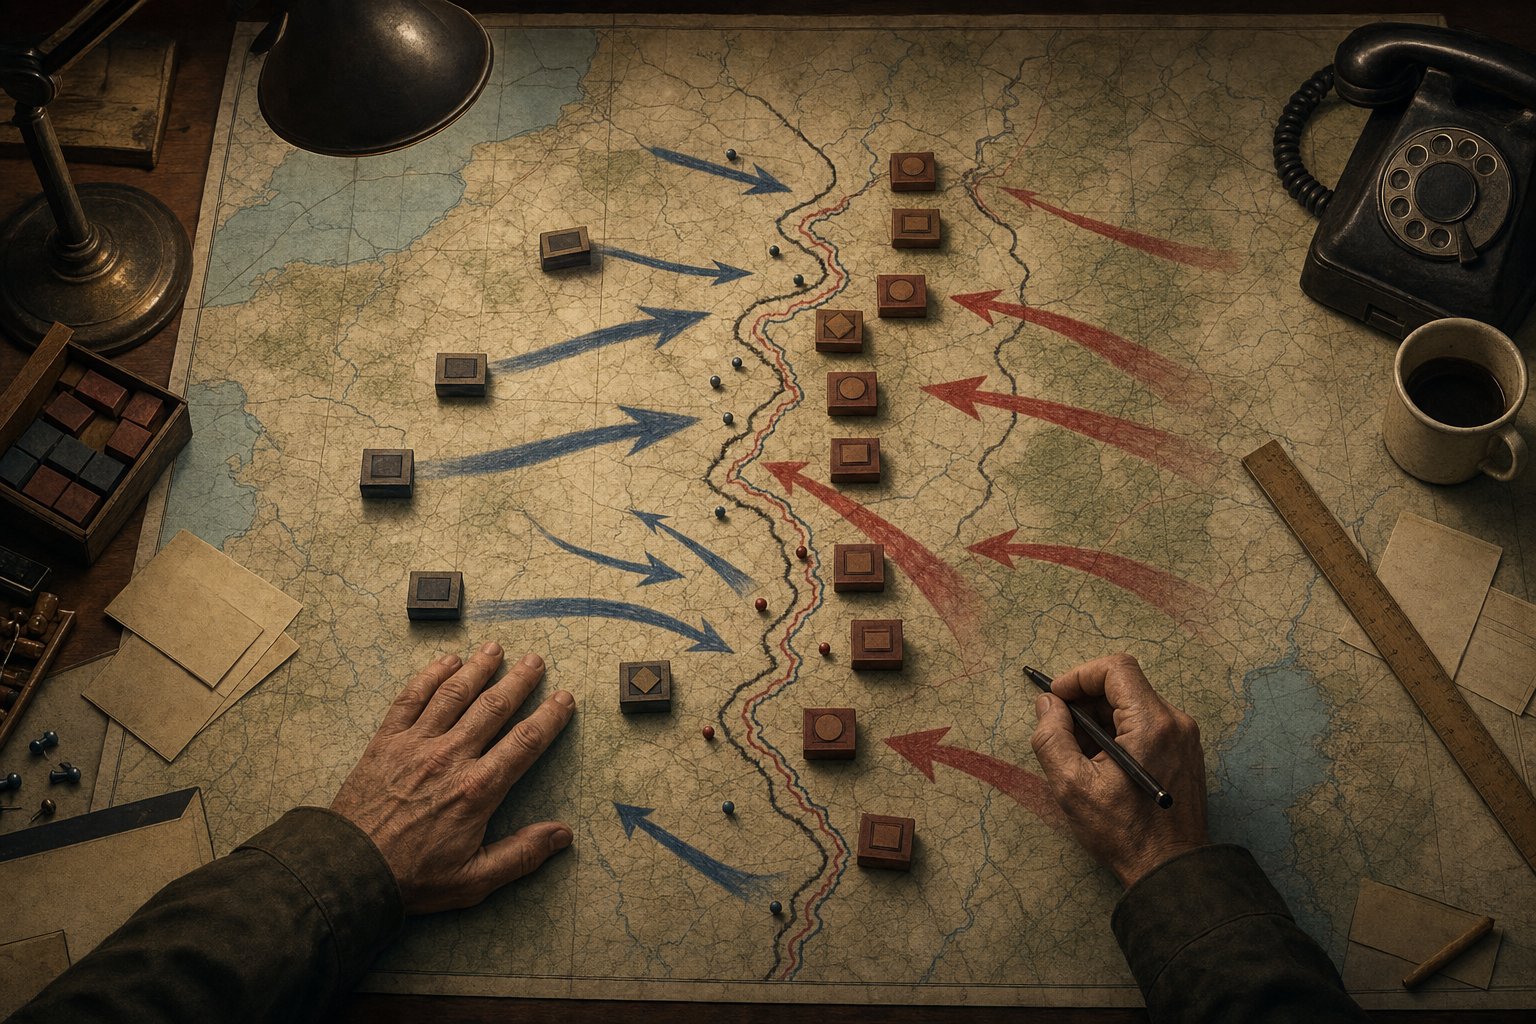
Battle plans are the system new players either ignore completely or trust too much. Ignore them and you lose the planning bonus — a combat modifier large enough to decide engagements on its own. Trust them fully and you watch an army grind head-first into rivers, mountains, and forts because you pressed Activate and walked away. Neither extreme works. The system rewards a specific posture: let plans organize the army and store preparation, then keep your hand on the attacks that matter.
This guide builds the mental model from the ground up. First, what battle plans actually are at the mechanical level. Then the four line types and the decision rule for choosing between them. Then planning bonus — the single biggest reason the system exists. Then the advanced front-management techniques that keep a large war from turning into a reshuffling nightmare. By the end you should be able to look at any front, on any patch, and know which lines to draw, how aggressively to let them run, and when to take manual control.
What Battle Plans Actually Do
A battle plan is an order you hand to a general. It links three things: a set of divisions, a set of map objectives (lines, arrows, areas), and a commander whose stats and traits modify how those divisions fight. Open the battle-plans box by clicking any army at the bottom of the screen — the interface has over fifteen buttons, but the core workflow is short: draw a front line, add an offensive order, let the planning bonus charge, execute selectively.
The critical thing to internalize is what a battle plan is not. It is not a guarantee that every attack will be smart. The AI executing your plan does not evaluate supply, does not time attacks around weather, and does not know that the province it is about to push into is a level-10 fort. A plan is a framework — it tells divisions where they belong and gives them a combat bonus for standing there — but the quality of the actual fighting depends on the decisions you layer on top.
Think of it as the difference between a standing order and a battlefield command. The standing order says "hold this border and prepare." The battlefield command says "now, with these twelve divisions, through this gap, at this moment." Battle plans handle the first. You handle the second. The players who struggle are the ones who expect the plan to handle both.
Every division assigned to a plan with an offensive order accumulates planning bonus passively, day by day, up to a cap set by your doctrine and research. That bonus applies to attack and defense and is one of the largest single modifiers in the game. A fully charged planning bonus against a dug-in enemy behind a river can be the difference between a clean breakthrough and a month of red arrows. This is the real payoff of the system, and it is the reason you draw plans even when you intend to micro everything manually.
The Four Line Types and When Each Is Correct
Every battle plan is built from four line types. Each solves a different problem, and the most common front-line failures come from using the wrong one. Here is the decision framework.
Front line: the foundation. One left-click on an enemy border draws the entire front. Right-click-and-drag to cover only a portion. The front line assigns divisions to hold that border, and it reshapes itself automatically as tiles are gained or lost — if a tile falls, assigned units try to recapture it; if a neighbor attacks, units on the line support-attack without being told. This self-repair is the front line's real value: it keeps the border coherent while you focus on the attacks that matter. You should have a front line on every active border, always. It is the prerequisite for every other order type and the thing that makes planning bonus possible.
Offensive line: the broad advance. Drawn with right-click-and-drag over the tiles you want captured, an offensive line layers an advance order on top of a front line. Hovering the arrow shows the sequence in which tiles will be taken. Units on an offensive line wait for neighboring reinforcements before continuing, which makes the advance slower but more consolidated. The catch: units will deviate. An offensive line does not leash your divisions to the painted path — they will push into adjacent provinces, cross rivers you never told them to cross, and wander into mountains on their own initiative. For a broad infantry push across an entire front, this is fine. For a precise armored thrust, it is a problem.
Spearhead: the precision instrument. A spearhead goes exactly where you drew it and nowhere else. Units aggressively take the provinces defined at paint time, in order, without re-evaluating or adjusting to battlefield changes. This makes spearheads the correct tool for encirclements, for cutting off enemy forces, and for any blitzkrieg-style thrust where the path matters more than the breadth. The trade-off is speed without consolidation: because spearheading units push without waiting for neighbors, conquered tiles are temporarily undefended until follow-on forces arrive. More on the spearhead/offensive distinction below, because it deserves its own section.
Fallback line: the anchor. Units move to a fallback line and stay there. They do not advance, do not support-attack, do not wander. This is your last-stand position — the line behind the river where the retreat stops and the counterattack begins. Fallback lines are static by design, which makes them reliable in a way no other order type is. But they have a hidden trap that most players miss: a fallback line on its own builds zero planning bonus. If the enemy reaches your fallback line and your units are standing on it with no front line and no offensive order, they get no preparation bonus at all. The fix is in the fallback section below.
Two more order types live in the same interface but serve different roles. Area defense spreads divisions across points of interest — supply hubs, naval bases, railway junctions, air bases, coastlines — and guards them against paratroops and raids. An area-defense general can command roughly three times as many divisions as a standard plan, but those divisions cannot be assigned to any other order. Exercise pins the army's organization to a low level while divisions drill, gaining experience up to level three for a combat modifier and generating a trickle of army XP at an equipment cost. Shift+click the exercise button to auto-stop at level three; drilling past that cap just burns equipment.
Planning Bonus: The Reason You Bother
If battle plans did nothing but organize the map, they would still be worth drawing. But the real reason the system exists is planning bonus — a combat modifier that accumulates while divisions sit on a plan with an offensive order, and that applies to both attack and defense. It is one of the largest available multipliers in the game, and ignoring it is the single most expensive mistake a new player makes.
The mechanic is straightforward. Draw a front line. Add an offensive order. Park the divisions. A preparation bar fills by a percentage each day, up to a cap determined by your doctrine and research. You can see the current cap and charge rate in the army interface — hover over the planning bonus icon on any assigned division to read the exact numbers for your current setup, because doctrine choices and technologies change both the cap and the speed. Grand Battle Plan doctrine pushes the cap higher; Superior Firepower trades some planning depth for raw combat stats. Neither is wrong, but they change how long you should wait before attacking.
The decision rule for when to attack is simple and does not depend on exact percentages:
- Weak enemy, no fortifications, no river: attack immediately. The planning bonus is a multiplier on an already favorable fight, and waiting wastes time. A three-day delay for ten extra percent is a bad trade when the enemy is collapsing.
- Strong enemy, dug in, behind a river or forts: wait until the bonus maxes. This is exactly the situation planning bonus exists for. A fully charged bonus against entrenched defenders can turn a stalemate into a breakthrough. Attacking at half charge against a prepared position is how you get a month of red arrows and a manpower crisis.
Two things reset or waste planning bonus, and both are common. Moving divisions off their assigned line drops the bonus — every tile a unit travels laterally to reach a new position is time it is not building preparation and not fighting. This is why front-line hygiene matters so much: a plan that constantly reshuffles its units is a plan that never reaches full charge. The second waste is overstacking. Cramming too many divisions onto a single front applies a debuff that can eat your planning bonus and more. If a front feels crowded, split it: the S key takes half the selected units and lets you rebalance into a second plan.
One subtlety that trips up intermediate players: the planning bonus is tied to the general's Planning skill — the green horse-shoe icon on the commander portrait. A general with high Planning skill charges the bonus faster and to a higher effective value. When you have a choice between two generals for a critical front, the one with better Planning is usually the one you want on the main attack, even if the other has flashier combat traits.
Spearhead vs Offensive Line
This comparison causes more confusion than it should, because the two tools look similar on the map and behave completely differently in practice. The difference is not "one is better." They are situational instruments, and choosing wrong costs you either control or speed.
The core distinction is adaptation. An offensive line adapts: units wait for neighboring reinforcements, consolidate as they advance, and — critically — choose their own attack axes. They will push into provinces you never painted, cross rivers you intended to skirt, and wander toward objectives you never set. This freelancing is a feature on a broad front: you want infantry to fill gaps and consolidate without being told. But it makes offensive lines useless for precision work.
A spearhead does not adapt. Units take the provinces exactly as defined at paint time, in the order you drew them, and do not re-evaluate when the battlefield changes. If you painted a path along a riverbank, the tanks hug that riverbank and take nothing else. No deviation, no freelancing, no surprise attacks into mountains. This predictability is the entire point. When you are running an encirclement — punching a narrow corridor to cut off an enemy army group — you need units to go exactly where you drew the line, because one division wandering off to take a province you did not ask for can blow a gap in the pocket.
| Property | Offensive line | Spearhead |
|---|---|---|
| Path adherence | Approximate. Units deviate to adjacent provinces. | Exact. Units take painted provinces in painted order. |
| Consolidation | Waits for neighbors before advancing. Slower, tighter. | Pushes without waiting. Faster, leaves temporary gaps. |
| Speed | Moderate. The wait-for-reinforcement behavior adds days on a long front. | Fast. Units advance at maximum speed along the painted path. |
| Best for | Broad infantry pushes across an entire front. | Encirclements, armored thrusts, cutting off enemy forces. |
| Follow-on requirement | Low. The consolidation behavior covers its own rear. | High. Conquered tiles are undefended until follow-on units arrive. |
The follow-on requirement is the part most players miss. When tanks push a spearhead at full speed, the tiles behind them are empty until someone walks up to garrison them. If your follow-on force is infantry, it cannot keep up — infantry movement speed is too low, and the gap between the spearhead and the infantry line grows every hour. The classic pattern is tanks on the spearhead, motorized or mechanized divisions assigned behind them to cover the exposed front as it advances. Motorized units match tank speed and can garrison the corridor in real time. Pure infantry behind a tank spearhead is how you get a beautiful armored thrust that collapses because nobody was home to hold the ground it took.
When to use which, as a standing rule: if you are pushing with infantry across a wide front, use an offensive line. If you are pushing with tanks through a narrow corridor to encircle, cut off, or seize a specific objective, use a spearhead. If you are not sure, the question to ask is "do I need these units to go exactly where I drew the line?" If yes, spearhead. If you can tolerate some freelancing in exchange for automatic consolidation, offensive line.
Field Marshal Plans: Stitching and Shuffling
On a long front — Barbarossa-scale, or any war where you have multiple army groups side by side — the way you structure your Field Marshal's plan determines whether your units fight or spend the war walking sideways. There are two failure modes, and both have fixes.
Unstitching happens when you lay multiple separate battle plans end-to-end along the front. Each plan owns its own segment. When you attack and gain tiles, the individual plans do not auto-rejoin — gaps open between them, and units stand idle next to unassigned provinces. This is the beginner's default layout, and it falls apart the moment the front moves.
Shuffling is the subtler problem. A Field Marshal's default battle plan automatically stitches all subordinate army groups together, which fixes unstitching. But as the front advances and tiles are gained, the FM redistributes frontage among the army groups dynamically. One group's plan grows, another shrinks, the internal borders slide — and units get reassigned to distant tiles, forcing long lateral relocations. Every tile a unit walks sideways to reach its new assignment is a tile it is not attacking, not defending, and not building planning bonus. On a front that is actively advancing, shuffling can keep your army in permanent reorganization.
The fix for both is one keystroke: Shift+left-click the Field Marshal to create a single unified battle plan spanning all subordinate army groups. This makes the entire front behave as one army with no internal borders to slide. No unstitching, because there are no separate plans to separate. No shuffling, because there are no internal boundaries to redistribute. The front advances as a single coherent line, and units stay where you put them.
The preferred end-state for a major front looks like this:
- One stitched army group under a Field Marshal, Shift+clicked into a single unified plan, holding the line and building planning bonus across the entire front.
- A separate army behind it for the divisions you want to micro — typically tanks and any specialized units. Pull them out of the main plan so the AI does not reorganize them into the infantry line.
- An "empty" battle plan on the micro army, targeted at a nation you do not intend to attack. The divisions still receive the battle-plan combat bonus even though they are not attacking that target. This keeps your tanks planned-up while leaving them fully manually controllable for encirclements and breakthroughs.
That third step — the empty battle plan — is standard practice in the multiplayer community and less known in singleplayer. It feels exploity, but it is how the system works: the planning bonus is tied to having a battle plan, not to attacking the target of that plan. Point it at a neutral or irrelevant border and your micro army keeps its bonus while you drive it by hand.
One more trick for stacking a strong general: an area defense order in a friendly or neutral nation (with docking rights, if overseas) lets a single general command up to roughly three times the normal division cap. There is no battle-plan bonus — area defense does not grant one — but every division benefits from that general's traits and skill. If you have an overpowered general and want more divisions under his command than a standard plan comfortably holds, this is the way.
Execution, Cohesion, and the Activate Button
Two settings on every battle plan control how aggressively the AI runs it, and one button should almost never be pressed.
Execution governs the tempo of the entire order. Careful makes units methodical: they wait for a numbers advantage and a high probability of victory before attacking, and they pause longer after capturing a tile before moving to the next. Aggressive does the opposite: units attack often, pause less, and keep pushing between tiles with minimal consolidation. Careful is the right default for infantry holding a long front. Aggressive is for when you have overwhelming force and want to move fast — a collapsing enemy, a mop-up operation, or a spearhead where speed matters more than safety.
Cohesion governs how far units travel to plug a gap in the front. Flexible lets distant units relocate to fill a breach — useful on a thin front where every division matters. Rigid restricts gap-filling to nearby units only, which prevents the AI from pulling divisions off a quiet sector to plug a hole three hundred kilometers away. Rigid is the right call when you have a deep front and want units to stay put and entrench rather than chase gaps across the map. Flexible is right when the front is thin and a breach anywhere is an emergency.
The Activate button executes the entire battle plan at once — every division on every line, attacking every objective simultaneously. The temptation to press it is strong, especially when you have a big army and a juicy plan drawn up. Resist it. Activating a plan forfeits manual control of the attack: every division goes where the AI decides, at the tempo the AI chooses, against the targets the AI prioritizes. On a broad front with a weak enemy, this is merely wasteful. On a contested front with a prepared defender, it is catastrophic — the AI will push into rivers, forts, and mountains with equal enthusiasm, and your planning bonus evaporates across a dozen pointless attacks instead of concentrating on the one gap that matters.
The one exception: when the enemy front is already collapsing and you want to move fast and take maximum ground. After a successful D-Day pulls German divisions west, for example, activating the Eastern Front plan sends everything forward at maximum speed, threatening deep objectives and locking the enemy in place so it cannot redeploy. Activate is a mop-up tool, not an opening move. If you are pressing it before the enemy is broken, you are using it wrong.
Fallback Lines and Prepared Defense
A fallback line is the one order type that never moves. Units walk to it and stay. No advancing, no support-attacking, no wandering off to plug a gap somewhere else. This makes fallback lines the backbone of any prepared defense — the line behind the river where the retreat ends and the counterattack begins.
The trap, mentioned earlier, is that a fallback line on its own builds no planning bonus. The game only charges preparation on plans that have an offensive component. So if you draw a fallback line behind a river and park your army on it, those divisions sit at zero planning bonus, and when the enemy arrives you fight without the single largest available combat modifier. The fix is simple but easy to miss: on the same general who holds the fallback line, also draw a front line and an offensive order covering the same area. Now the position is simultaneously a fallback line and a front line with an attack order, and planning bonus builds normally. When the enemy hits, your units are dug in on a river with a fully charged bonus, and you can counterattack immediately instead of fighting at a deficit.
For a long defensive war — the Soviet opening against Barbarossa is the classic case — pre-draw multiple fallback lines behind each other before the war starts. First line at the border rivers, second line deeper, third line further back still. When one collapses, retreat everything to the next. The emergency retreat workflow is: select the Field Marshal, draw a new fallback line further back, then Ctrl+click that line with each front-line general to assign them. Divisions retreat en masse using strategic redeployment where possible, which minimizes losses during the withdrawal. You will still lose men — a forced retreat is never free — but the difference between an organized fallback and a rout is the difference between a controlled withdrawal and a rout.
Entrenchment amplifies everything a fallback line does. A stationary unit builds entrenchment over time, gaining a substantial combat bonus. Every infantryman digs a hole if left to his own devices. Field Marshal traits, doctrine choices, and engineer companies all increase the entrenchment cap and speed. A unit that has been sitting on a fallback line behind a river for two weeks, with full planning bonus and deep entrenchment, is a fundamentally different defender than one that just walked up. Give your defensive lines time to dig in before the enemy arrives, and the terrain does half the work for you.
Common Battle Plan Mistakes
Most battle-plan problems are not mechanical — the system works as described. They are judgment errors that repeat across every campaign and every skill level. Here are the ones that cost the most.
Overstacking a single front. Cramming too many divisions onto one front line applies a debuff that grows with the overcrowding. The front looks strong on paper and performs worse than a thinner, properly balanced line. If a front feels crowded, split it: select half the units with S, draw a second front line, and rebalance. Two clean fronts beat one choked one.
Pairing spearhead tanks with infantry follow-on. Infantry cannot match tank speed. The gap between the spearhead and the infantry line grows every hour, leaving the conquered corridor undefended. Motorized or mechanized divisions behind the tanks close the gap in real time. If you do not have motorized units, you probably should not be running a deep spearhead — use an offensive line and let the consolidation behavior keep the front coherent.
Trusting an offensive line to stay on the painted path. It will not. Units on an offensive line choose their own attack axes and will push into provinces you never selected. If the path matters — if you are running a corridor, skirting a river, or avoiding a mountain range — use a spearhead. If you can tolerate freelancing, an offensive line is fine, but do not be surprised when three divisions wander off toward a port you never mentioned.
Pressing Activate as an opening move. Covered above, but worth repeating because the button is large and the temptation is real. Activate is for mop-up on a broken front. Every other situation is better served by manual attacks at the point of maximum advantage.
Letting the FM plan shuffle a long advancing front. If your units spend more time relocating than fighting, the Field Marshal's internal borders are sliding. Shift+click the FM into a single unified plan. One keystroke, and the reorganization stops.
Drawing fallback lines too late. A fallback line drawn during a collapse is a fallback line drawn under fire, with units retreating through provinces they have not prepared and no time to entrench. Pre-draw your defensive lines before the war starts. The rivers will still be there in six months; your army might not be, if you wait.
Ignoring the general's Planning skill. The green horse-shoe icon on a commander's portrait is not decorative. It directly scales the planning bonus that general's armies can build. On a critical front, the general with higher Planning is usually the right choice, even if the alternative has more impressive combat stats. You can check the exact contribution by hovering the planning bonus icon on any division assigned to that general.
Forgetting that drilling pins organization. An army on exercise sits at a fraction of its normal organization. If the enemy attacks mid-drill, your divisions are combat-weak and will fold. Exercise is for quiet fronts with spare equipment, not for the border you expect to be hit next week. And Shift+click the exercise button to auto-stop at level three — the experience bonus caps there, and continued drilling just burns equipment for marginal XP.
FAQ
What is the planning bonus cap, and how do I increase it?
The cap is set by your land doctrine and relevant technologies. Grand Battle Plan doctrine pushes the cap highest; Superior Firepower trades some planning depth for raw combat stats. Hover the planning bonus icon on any assigned division to read your current cap and charge rate — the exact numbers change with doctrine choices and research, so the in-game tooltip is always the correct reference.
Should I use spearhead or offensive line for my main attack?
If the attack is a broad infantry push across the whole front, offensive line. If it is a narrow armored thrust aimed at encircling or cutting off enemy forces, spearhead. The question to ask: "Do I need these units to go exactly where I drew the line?" If yes, spearhead. If you can tolerate some deviation in exchange for automatic consolidation, offensive line.
Why do my units keep reshuffling along the front?
Two likely causes. If you have multiple separate battle plans laid end-to-end, they unstitch as you gain tiles — merge them under a Field Marshal. If you have a Field Marshal plan but units still relocate, the FM is redistributing frontage between army groups — Shift+left-click the FM to stitch everything into a single unified plan.
When should I press the Activate button?
Almost never. The one exception is a mop-up operation on a front where the enemy is already collapsing and you want maximum speed. In every other situation, manual attacks at the point of maximum advantage outperform a blanket plan execution.
My fallback line units have no planning bonus. Why?
A fallback line on its own does not build planning bonus. On the same general, also draw a front line and an offensive order covering the same area. The position then functions as both a fallback anchor and a planning-bonus source, and your units can counterattack with a full bonus when the enemy arrives.
How do I keep my tanks under manual control without losing the planning bonus?
Pull them out of the main front-line plan into their own separate army. Give that army an "empty" battle plan targeted at a nation you do not intend to attack. The divisions keep the battle-plan combat bonus while remaining fully manually controllable for encirclements and breakthroughs.
How many divisions can one general command?
A standard battle plan caps a general at a fixed division limit — check the army interface for the current number, as it shifts with patches and DLC. An area defense order raises that cap to roughly three times the standard limit, but area-defense divisions cannot be assigned to any other order type.
Next Reads
- HoI4 Beginner Guide — the full first-campaign walkthrough, from national focus to first war.
- HoI4 Division Templates — infantry, tank, and motorized designs that make battle plans actually work.
- HoI4 Supply Guide — why your beautiful offensive line stalls three tiles in, and how to fix the logistics underneath it.
- HoI4 Air Superiority and CAS Guide — the air layer that multiplies (or destroys) every ground attack you plan.
- HoI4 Germany First Campaign Guide — the classic testing ground for every technique on this page.