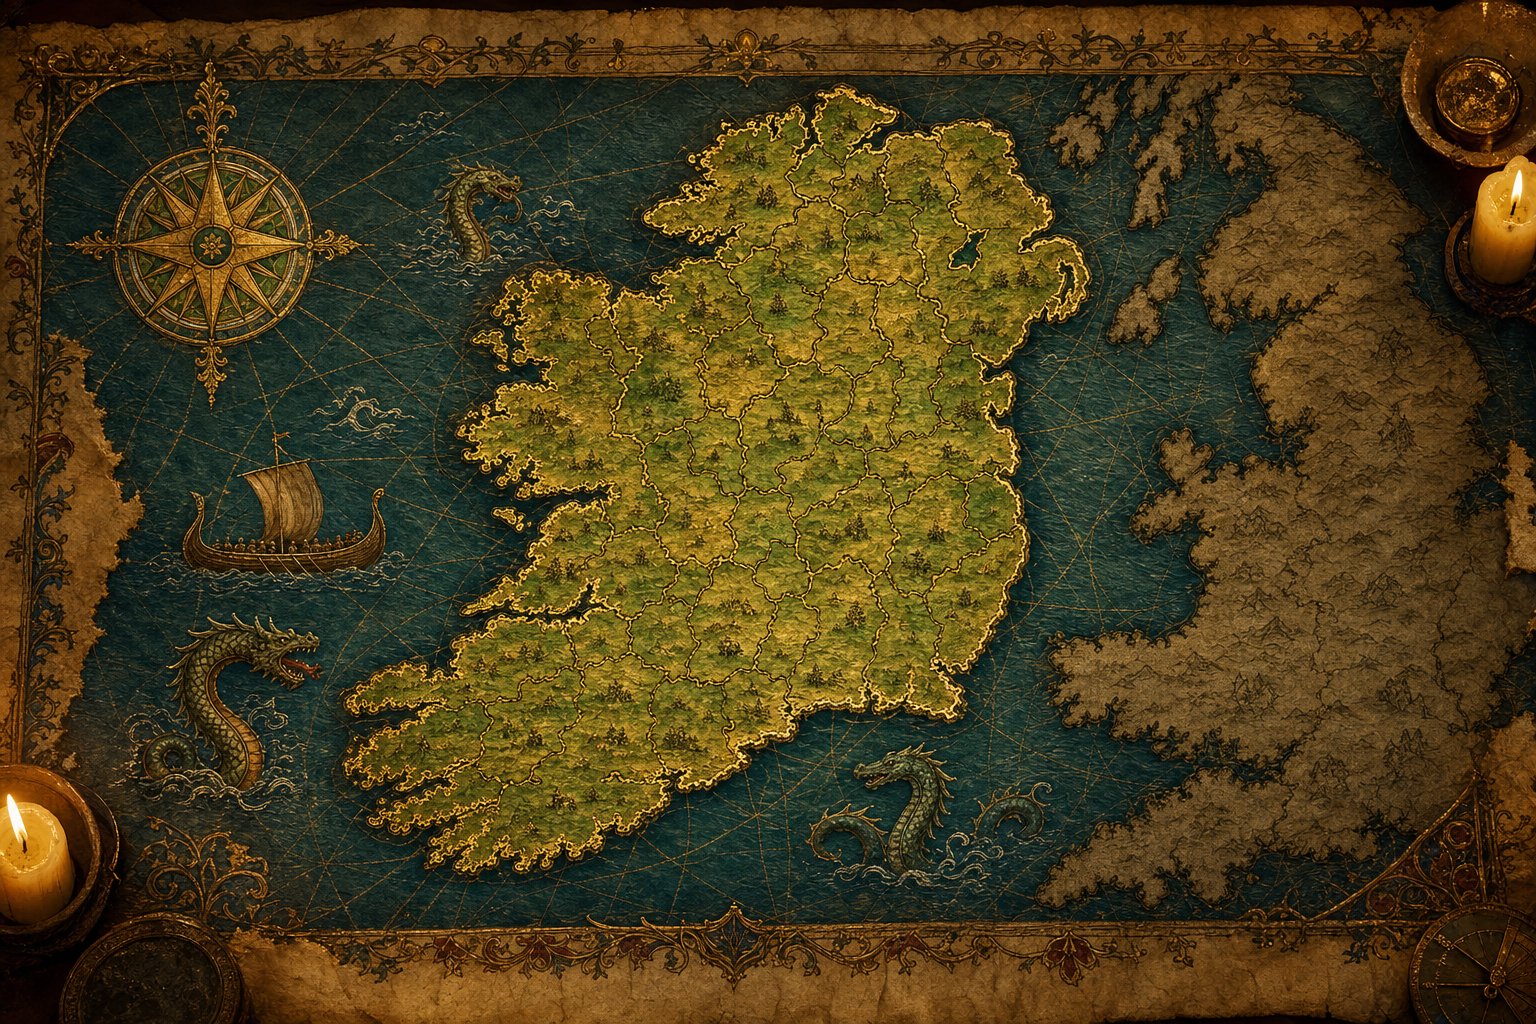
Most players lose Ireland in the first decade, and they lose it the same way: they look at the map, see a dozen tiny clans, and assume the hard part is conquering them. It is not. The clans fall over. The hard part is understanding what Ireland actually is in this game — a tribe with more people than land, an economy that runs on conquest, and a single predator across the sea whose attention is the only clock that matters. Get those three things into your head and the first fifty years play themselves. Get them wrong and no amount of micro saves you.
The assumption throughout: you are playing one of the Gaelic tribes — Tyrone is the classic pick because it starts with subjects of its own, Connacht works just as well — and your goal is a unified Ireland under your own flag. The principles hold for any Irish tag; only the opening border changes.
Why 1337 Is Ireland's Window
The strategic situation in 1337 is not flavor text — it is the reason Ireland is playable at all. England is weaker and more distracted at this bookmark than it will ever be again, and your entire early game is an exploitation of that fact. Understand why, and you will know exactly when to attack, when to hide, and when the window is closing.
Four things are happening to England simultaneously. The Norman grip on Ireland has been decaying for decades, and Robert the Bruce's campaigns bled English power in both Scotland and Ireland within living memory. A great famine a generation earlier hit the urbanized, English-controlled areas hardest, so the Pale starts poorer and less populated than its map color suggests. The Hundred Years' War is beginning, which means England's armies, its money, and its attention are about to be poured into France on a loop that renews itself for decades. And the Black Death is coming — it kills urban populations hardest, which means it will hurt the English towns more than your tribal countryside.
The principle to internalize: your enemy's weakness is timed, not permanent. England's AI keeps re-entering its French wars until the situation resolves, and Scotland keeps needling it from the north. Every year you spend not fighting Ireland is a year England spends somewhere else. Every year you spend building instead of conquering is a year the window narrows. By the time England consolidates, you need to be an island kingdom with a navy, not a cluster of feuding tribes — because a unified England that turns west is the one thing a divided Ireland cannot survive.
This reframes every early decision. You are not playing a tall economic game that happens to have wars in it. You are playing a conquest game on a deadline, and the economy exists to serve the deadline. Faster conquests, faster vassalization, faster formation — speed is not a style preference. It is the whole strategy.
The Levy Engine: Population Is Your Army
Forget professional armies. In the early game they are locked behind a late institution that costs a fortune in stability and gold and refuses to spawn until you have embraced almost nothing else — forcing it early is a trap that buys you nothing. Everything you fight with for the first fifty years is a levy, and levies come from one place: population. This is the single most important fact about playing Ireland. Your army is not a building you construct. It is a census.
Irish tribes are absurdly efficient at this. A single-province clan can start with forty thousand people, and Dublin alone holds around sixty thousand — enormous numbers for so little land. That is why a two-hundred-man starting levy can become a twelve-thousand-man host inside a few decades without any special tricks. The trick is simply not wasting the population you have and not ignoring the population you conquer. When you take a province, look at its towns, not just its fields: town population is what moves the levy needle, and a capital full of rural hamlets will never raise what one good town can.
Your levy count is not fixed. It is the sum of a stack of modifiers, and the levy panel itemizes every one of them — open it and read the breakdown before you memorize anything, because the exact percentages move between updates and the panel never lies. The levers themselves are stable:
- Levy age criterion. Setting recruitment to "Everyone" adds a small percentage to levy size for free. Do it on day one.
- Estate privileges. Commoners often start under a privilege that halves their levy service. Revoking it costs a chunk of stability but is one of the largest single gains available. The replacement privilege — a commoner militia — adds both levy size and levy combat efficiency.
- Tribal coercion. The tribal slider works like legitimacy for a tribe: pushing it toward maximum raises levies. This is also what the "strengthen government" cabinet action feeds.
- Parliament. Running a debate and requesting large levies adds another large size bonus. Even debates you lose pay out in reduced estate unhappiness, so run them constantly.
- Military technology. An early tech that enforces levy service adds another size bonus a handful of research steps in.
Two consequences follow from the population-equals-army rule, and beginners trip over both. First, stability is your war-declaration resource, not a health bar. Declaring wars spends stability, and below minus fifty you cannot declare war at all. The penalties for running low stability early — grumpy estates, some rebellion risk — are tolerable while you hold little territory, so spending stability on wars and on revoking bad privileges is correct. What is not correct is letting stability income stay near zero: put a high-military advisor in the stability-boosting cabinet seat and treat stability gain as the stat you build first, because it sets the tempo of your entire conquest loop.
Second, your levy count will swing wildly during rapid expansion, and this is normal. Freshly conquered land has almost no control, and land with no control raises no levies. Coring raises control gradually, so a fast blob temporarily dilutes your army before the new provinces come online. If your levy number drops right after a big war, you did nothing wrong — you are simply digesting. This is also why conquering towns matters more than conquering acre: a dense, high-control location raises troops immediately, while a sprawl of countryside raises them in a decade.
Stay Tribal Until You Own the Island
Every new Irish player feels the urge to "civilize" their tribe as fast as possible, because the game presents tribal government as a primitive thing to graduate from. Resist it. For a conquering Ireland, being a tribe is not a handicap to overcome — it is the engine that carries the first half of the campaign, and reforming away from it too early is the most common self-inflicted wound in this start.
A tribe gets three things that a monarchy does not. It gets a large proximity bonus from the tribal rank itself — on the order of thirty percent, which is enormous when proximity is what decides how fast you control and integrate conquered land. It gets the tribal feud casus belli, which is the cheap conquest tool the whole early game runs on. And it gets the best levy numbers in the game, because decentralization trades bureaucratic efficiency for raw military mass. Players who reform into a monarchy mid-conquest watch their levy count fall off a cliff and spend the rest of the war wondering what happened. The government screen shows you the levy delta before you commit to a reform — read it, and do not reform until the number it shows you is a price you are willing to pay.
| Stay a tribe while... | Reform to monarchy when... | |
|---|---|---|
| Army | Levies are your whole force; decentralization maximizes them. | You can afford the levy drop because the island is mostly won. |
| Control | The tribal proximity bonus integrates fresh conquests fast. | Roads, rivers, and a moved capital have replaced the bonus. |
| Casus belli | Tribal feud gives free or near-free wars on neighbors. | The High Kingship's reclaim CB replaces feud as your cheap tool. |
| Diplomacy | You do not need crown power yet; you need subjects and land. | The High Kingship candidacy requires monarchy rank and prestige. |
The reason you cannot stay a tribe forever is the High Kingship. Claiming the throne requires monarchy rank and a prestige threshold — the international organization panel lists the exact current gates, so read them there rather than trusting any fixed number — and you cannot win the vote as a tribe. This creates the central timing puzzle of the Irish campaign: the government form that makes conquest easy disqualifies you from the throne that makes conquest cheap. The resolution is sequencing. Do the violent part first — feud, vassalize, and blob until most of the island is yours or your subjects' — and only then reform, claim the kingship, and use its tools to mop up the remainder. Reforming on day one to chase the throne means fighting the hard wars without the tribal engine. Reforming on day one thousand means you never got the throne's cheap wars at all.
Two tribal-era hazards to manage while you wait. Tannistry — the elective tribal succession — regularly swaps in new rulers, and a ruler with no wife and no heir can trigger a succession crisis, so keep the dynasty stocked. And England may offer you subjugation on its terms: reform to monarchy, adopt a French court language, and become Anglo-Irish. On the High Kingship path, decline. The Anglo-Irish are a different culture group from your Celtic Hibernian population, they cannot be accepted, and taking the offer bakes in a permanent unhappiness penalty while closing the kingship route. It is a fork, not a gift: the Pale and Lordship path takes it, the Ireland-for-the-Irish path refuses.
The Conquest Loop: Feuds, Vassals, and Free Land
Here is the reframe that makes Ireland click: conquest is your economy, not a drain on it. Every province you take refunds stability and cash, and against a passive stability income of pennies per month, a single conquest refunds roughly a decade of what you would have saved sitting still. War is not an expense you budget for. It is the income. A peaceful Ireland is a bankrupt Ireland. This inverts the instinct every tall-game player brings to a small nation, and it is why the aggressive line is not the risky option — the cautious line is.
The loop itself is short, and you will run it dozens of times:
- Build a spy network in the target, or simply border them — the tribal feud casus belli needs a shared border and a disloyal or feudable target, and it costs nothing.
- Declare with the cheapest available CB. The war screen prints the exact stability cost before you commit, so you never have to guess; the hierarchy below is the shape of it.
- Raise your levies and march on state capitals — the provinces marked with a flag icon. Occupying a capital auto-occupies everything in its zone of control, so one good march collapses an entire enemy line without fighting for every province.
- Peace out enemies individually, taking their cash if you are poor and vassalizing the rest. Direct conquest is slow to integrate; a vassal is land you already control with none of the coring wait.
- Improve relations and diplomatically annex the vassals in parallel with your next war — or use the fast method below.
| Casus belli | Typical stability cost | When to use it |
|---|---|---|
| Tribal feud | Free | Your default. Any bordered Irish neighbor, chainable across the whole island. |
| Spy-network CB (e.g. make tributary) | Low | When feud is unavailable and you built the network anyway. |
| No casus belli | High | Emergencies and distracted great powers only. The cost compounds across a dozen small wars. |
| Reclaim High Kingship land | Heavily discounted | Everything after you hold the throne. This is the mop-up tool. |
| Humiliate / subjugate | Varies; conquer cost is punitive | Never for taking land. Humiliate is for the prestige loop, not territory. |
Vassalization deserves emphasis because it is the difference between a fifty-year unification and a hundred-year one. Coring provinces yourself is brutally slow, so the efficient line is to vassalize everyone you beat, keep conquering, and annex the vassals diplomatically in the background. Subjugation has a bonus the raw conquest lacks: when you vassalize a tag that has subjects of its own, their subjects transfer to you, so one good subjugation war can hand you half a dozen provinces without a second fight. Build the spy network first, subjugate, take war reparations if you are cash-poor, and move on.
There is a faster, rougher method for subjects you already own, and it is worth knowing even if it feels unsporting. Cancel the subject's vassal status — because they were not a participant in your wars, there is no truce — and immediately declare with the tribal feud CB, which only needs the target to be disloyal, a condition that is easy to arrange. You annex directly and skip the decades of diplomatic annexation entirely. Whether you use the patient route or this one, the principle is identical: never digest land at the speed of coring when you can digest it at the speed of war.
Three combat habits keep the loop from stalling. First, order a full retreat from any battle you are losing — it costs roughly a tenth of the army to disengage, which turns a total wipe into a scratch. Second, against an enemy stack bigger than yours, do not fight at all: base-race them. Wait until their army is halfway through a move, slip past, take their provinces and the war goal, and let the AI chase ghosts while you dictate the peace. Third, assign commanders by stat, not by seniority: administrative ability drives siege speed, diplomatic ability drives morale, military ability drives movement and discipline. A siege specialist parked on a fort saves you months of waiting — and without cannons, early fort sieges are already slow enough. The EU5 warfare guide covers supply, sieges, and combat math in full; the diplomacy guide covers vassals, antagonism, and coalitions.
One structural warning about the loop: piecing out enemies one at a time in separate wars can trigger a coalition against you. In Ireland this is usually a gift in disguise — the coalition war lets you fight all the remaining members at once and conquer them in a single peace — but it does mean you should keep your stability income high enough to declare on your schedule rather than the coalition's.
The High Kingship and Forming Ireland
The High Kingship of Ireland is the lever that turns a hard conquest into a cheap one, and it works nothing like a normal election. Every Irish nation casts its vote — mostly for itself. You do not win this vote by campaigning, improving relations, or being liked. You win it by deleting the other candidates until the only votes left are yours and your subjects'. Subjugate enough of the island and the throne falls to you by definition. "Diplomacy down the barrel of a gun" is not a joke here; it is the literal mechanic.
The candidacy gates are the part you read, not memorize: the organization panel shows that you must be a monarchy and clear a prestige threshold, and both values are the kind of thing that gets rebalanced, so trust the panel in front of you. This is the same prestige you farm by humiliating rivals and annexing in every war — the humiliate-then-annex cycle pays out a few prestige each time, and running it in every conflict is how a poor tribe reaches the threshold without buying it. Once you hold the throne, two things change permanently: you gain ongoing prestige, and you unlock the reclaim High Kingship land casus belli, which makes wars on any part of Ireland outside the kingship dramatically cheaper and sometimes free to acquire. That CB is the reward for the whole first act. Every remaining holdout on the island becomes a discount war, and the slow tribal-feud grind gives way to something that feels like cheating.
Forming Ireland itself is a separate decision from the kingship, and it is the milestone that ends the early game. The requirement is control of every Irish province, held either directly or through vassals — which is exactly why the vassalize-everything loop is the fast route. When you take the decision, the Lordship structure dissolves, your rank upgrades to kingdom, and you gain a set of national reforms: a monthly control bonus, reduced army maintenance, and a substantial morale bonus for your armies. The government and decisions panels show the current values; take them as read that the package makes your armies cheaper and harder, which is precisely what you need for the English wars ahead.
What forming Ireland does not do matters as much as what it does. It hands you no cores and no casus belli on the rest of the island — you still conquer and integrate province by province, and the green map color is a reward, not a shortcut. And it does not make you England's equal. A fully unified Ireland ends up with roughly half England's tax base: enough to defend the island decisively, stronger than England at sea, and not enough to conquer Britain outright. That is the honest shape of the win condition. You are building a country England cannot take, not one that marches on London in 1390. Players who understand this stop overreaching; players who do not spend the second half of the campaign feeding armies into a war they cannot finish.
Handling England and the Pale
The Pale is England's vassal, and this one fact defines your relationship with England for fifty years: any war you start against the Pale immediately calls England in. With a few hundred levies, that is a death sentence, so the Pale is strictly off-limits until the island is yours and your army is real. The good news is that the mechanic cuts both ways, and understanding how is the difference between fearing England and managing it.
When England joins a Pale war as the war leader, it does not actually want Irish land — it wants money. The Pale wants land, but the Pale is no longer running the war. So England beats you, extracts cash, and goes home, and Ireland stays independent and merely poorer. This is, mechanically, why England never quite takes Ireland in the early game: it keeps winning wars that cost it nothing and gain it nothing territorial. The practical lesson is that an early loss to England is recoverable in a way an early loss to a land-hungry neighbor is not. You bleed ducats, not provinces. Do not fear the first English war so much that you never provoke it; fear being poor and divided when it comes.
England's attention is your opening, and it is predictable. The Hundred Years' War situation keeps English armies committed to France on a loop, and Scotland periodically drags it north. Before you declare, read the enemy's force distribution, not its total strength: an England with seventeen thousand men on paper but eight thousand committed on another front cannot mount a serious invasion of your island, even if the raw number looks terrifying. The AI also mismanages its transports and ferries invasions across in tiny dribs rather than one landing, which means even when England does come, a small Irish army can pick the landings apart piecemeal instead of facing the whole force at once. England's discipline looks scary on the tooltip and arrives forty men at a time.
The reliable recipe for the first English war:
- Ally France first. Improve relations with professions of trust, a well-timed gift, and the prestige from canonizing, then secure the alliance. France is often already at war with England and will carry the land fighting — but allies are unreliable, so keep a mercenary budget in reserve rather than assuming France shows up.
- Pick the war goal for passive score. Fabricate a claim on the Pale and choose the easiest non-fort war goal you can. Your side then ticks war score the entire war even while France does the heavy fighting and your own army is small.
- Cash out early. Countries regenerate levies during a war, so a long English war is a war England recovers from. Take your objective — the coastline, a fort, the most populated province you can reach — and peace out. A second war with a fresh casus belli beats a first war you drag to exhaustion.
- Never siege Dublin with your back to the sea. It is a brutal fort with a huge garrison, it is the obvious English landing point, and a landing on your only siege can end the run before you can react. Cover the sea lane or do not siege it at all.
There is also a coward's route, and it is good enough to mention: become England's subject or tributary yourself, beat up the Pale from under England's umbrella — England often will not intervene when you attack its other subjects — unite the island as a vassal, and then fight the war of independence when you are strong, with France and even the Pope on your side. It is less romantic than the High Kingship path and it costs you tribute and autonomy for decades, but it is a legitimate way to let England's own umbrella shield you while you eat its garden. Whichever route you take, the timing rule is the same: you fight England when England is somewhere else.
Surviving the Black Death
The Black Death is not a random disaster. It is a scheduled one: it starts in the east, spreads across the world, and arrives in the British Isles on a timeline you can see coming if you watch the situation instead of your own border. Every Irish player gets caught by it at least once because the graph looks like a blip until it is not. Treat it as a planned phase of the campaign — your forced demobilization — and it becomes manageable. Treat it as a surprise and it wrecks the exact years you needed most.
The damage is population, and because population is your army and your tax base, the plague cuts both at once. Expect something like a tenth of your people in the first wave, sometimes far more, and expect your levy count and income to sag for years while the population recovers. Recovery does come, and it comes faster than the history books suggest, but the trough is real and it is the worst possible moment to start a major war. If you can time it, be at peace and building when the plague lands, not mid-siege on Dublin.
Two principles make the trough shallower. First, the plague kills urban population hardest. That is bad for your towns and genuinely good for your strategic position, because the English-controlled urban areas take it worse than your tribal countryside — the window against England stays open, or even widens, while everyone is sick. Second, tribesmen resist the plague better than peasants, so do not convert your tribesmen into peasants on the eve of the pandemic. You want the peasant levy size eventually, but you want the plague resistance more in the short term, and there is no prize for having reformed one year early.
The event responses — procuring remedies, isolating the country, scapegoating minorities — exist, and they help less than you would hope. Pick what you can afford and move on; the real mitigation happened years earlier, in the decision to keep your population tribal and to not over-invest in fragile urban income you were about to lose. Buildings that boost population growth are the durable answer and are worth constructing in the recovery. The deeper lesson is the one the whole Ireland start keeps teaching: population is everything, and anything that kills population — plague, famine, a lost war, bad estate policy — is the real enemy. England is just the one you can see.
Building an Economy on Three Ducats a Month
An Irish tribe starts making three or four ducats a month, and the instinct this triggers — optimize every building, squeeze every estate, micro every trade route — is exactly backwards. When you are this poor, most buildings are luxuries you cannot afford, and the economy you are trying to optimize does not exist yet. The early Irish economy has one engine that matters and a handful of things that get in its way. Build the engine. Ignore the rest.
The engine, again, is population. A settlement building adds population growth, and on a broke island that is worth more than any income building you can afford. When you are deciding between a mercenary company and a settlement, you are really deciding between this war and the next ten — and early, the settlements usually win. Everything else is secondary until your tax base is large enough to care about. The EU5 economy guide explains the full tax-base pipeline; the short version for Ireland is that production earns gross income, control and estates take their cuts, and you receive what is left — so raising control and population raises income more reliably than any building does.
The practical early build order:
- Cut everything you cannot afford. Monasteries, bardic schools, temples, and similar prestige buildings are net-negative on a three-ducat income. Demolish them and go positive. A fort you cannot maintain is worse than no fort — on this income, if you need a fort, you are already dead.
- Keep two or three settlements running for population growth, and add more as conquered towns come online.
- Automate trade and leave it alone. The AI consistently picks the highest-income goods, and manual micro is not worth your attention in a conquest run. Once you hold a town, build marketplaces — each adds trade capacity, up to three per town, and the jump from a fraction of a point of capacity to over one point turns trade from rounding error into real profit.
- Move your capital to Dublin when you can. It holds around a third of the national population and by far the best tax potential, and a rural starting capital cannot hold the buildings a real economy needs. The move costs stability and ducats, and the market center does not follow you — destroying the old market and founding a new one is cheaper than moving it, but the new capital must be a town before it can host a market at all.
- Spam roads from the capital. Proximity — how far your control and integration reach — spreads along roads, rivers, and lakes, and a capital placed between water bodies can project high proximity across a dozen locations. Roads are the cheap version of that, and they double as market access. The control guide covers why this stat quietly governs everything you can keep.
Three money traps end more Irish runs than England does. First, diplomatic spending left toggled on silently drains your entire treasury in the background — check it the way you check for a leak. Second, subsidies from a great power are a bridge, not an income: they can bankroll you handsomely for a while and then vanish on their own schedule, so never build a war plan on money that is not yours. Third, the estates bite when you squeeze them blind. Bribing estate satisfaction unlocks real bonuses and lets you tax harder, but satisfaction cannot be bought to full, and pushing taxation too far triggers a noble civil war you may not survive. Sometimes the correct move is to buy off the rebels for pocket change and fight the war you actually planned. The estates and crown power guide covers the satisfaction thresholds, and the bankruptcy, loans, and minting guide covers what to do when the bridge runs out before you reach the other side.
FAQ
Which Irish tag should I start as?
Any Gaelic tribe works, because the strategy is the same regardless of flag: stay tribal, stack levies, feud your neighbors, form Ireland. Tyrone is the classic choice because it starts with subjects of its own, which means your first subjugation chain is already half-built. Connacht plays well too. Pick by map position — you want to border several minor clans so the free tribal-feud wars chain — not by which flag you like.
Should I stay a tribe or reform to a monarchy?
Both, in that order. The tribe gives you the levies, the proximity bonus, and the tribal feud casus belli that carry the conquest; the monarchy is what unlocks the High Kingship candidacy. Reforming early to chase the throne means fighting the hard wars without the tribal engine, which is why players who do it watch their levy count collapse and regret it. Conquer most of the island as a tribe, then reform. The reform screen shows the levy change before you commit — read it.
How do I become High King of Ireland?
By winning an election where every Irish nation votes for itself — which means you win by subjugating or eliminating the other candidates until your bloc of votes crosses half, not by diplomacy. The candidacy itself requires monarchy rank and a prestige threshold; the international organization panel lists the exact current values. Farm prestige by humiliating and annexing in every war, reform when you are ready, and take the throne. The payoff is a heavily discounted casus belli on the rest of the island.
When should I attack England?
When its army is committed somewhere else and you have France allied. Read the force distribution, not the total levy count — an England with half its forces in France or Scotland cannot seriously invade you, even if the raw number is intimidating. Choose an easy war goal so you tick war score passively, take one concrete objective, and peace out before England's levies regenerate. Dragging an English war out is how you lose a war you were winning.
What does forming Ireland actually give me?
Kingdom rank and a set of national reforms — a monthly control bonus, reduced army maintenance, and a large morale bonus — plus the end of the Lordship structure. What it does not give you is cores or free wars: you still integrate the island province by province, and a unified Ireland ends up with roughly half England's tax base. Enough to defend the island and rule the sea around it, not enough to conquer Britain. Plan accordingly.
Why did my levy count just drop?
Three usual causes. Freshly conquered provinces have low control and raise no levies until coring raises it, so a fast blob temporarily shrinks your army while you digest. The Black Death kills population and takes your levies with it for years. And reforming from tribe to monarchy cuts levy size directly. Open the levy panel — it itemizes every modifier on your count, so you can see which of the three you are looking at instead of guessing.
Next Reads
- EU5 Beginner Guide: First 50 Years — the universal opening checklist that frames every country-specific route.
- EU5 Warfare Guide — levies, supply, sieges, and the combat math behind the conquest loop.
- EU5 Diplomacy Guide — vassals, coalitions, alliances, and the casus belli economy in full.
- EU5 Control Guide — why proximity, roads, rivers, and capital placement decide what you can actually keep.
- EU5 Economy Guide — the tax-base pipeline your settlements and marketplaces feed into.
- EU5 Estates and Crown Power Guide — satisfaction thresholds, privileges, and how not to trigger the civil war.
- EU5 Trade and Markets Guide — how trade capacity becomes ducats once your towns come online.
- EU5 Bankruptcy, Loans, and Minting Guide — the emergency tools for when the three-ducat economy goes wrong.
- EU5 Buildings and Production Methods Guide — what to build once you can finally afford to build.
- EU5 Best Starter Nations and the Castile first 50 years guide — for when you want a gentler teacher than a broke Irish tribe.