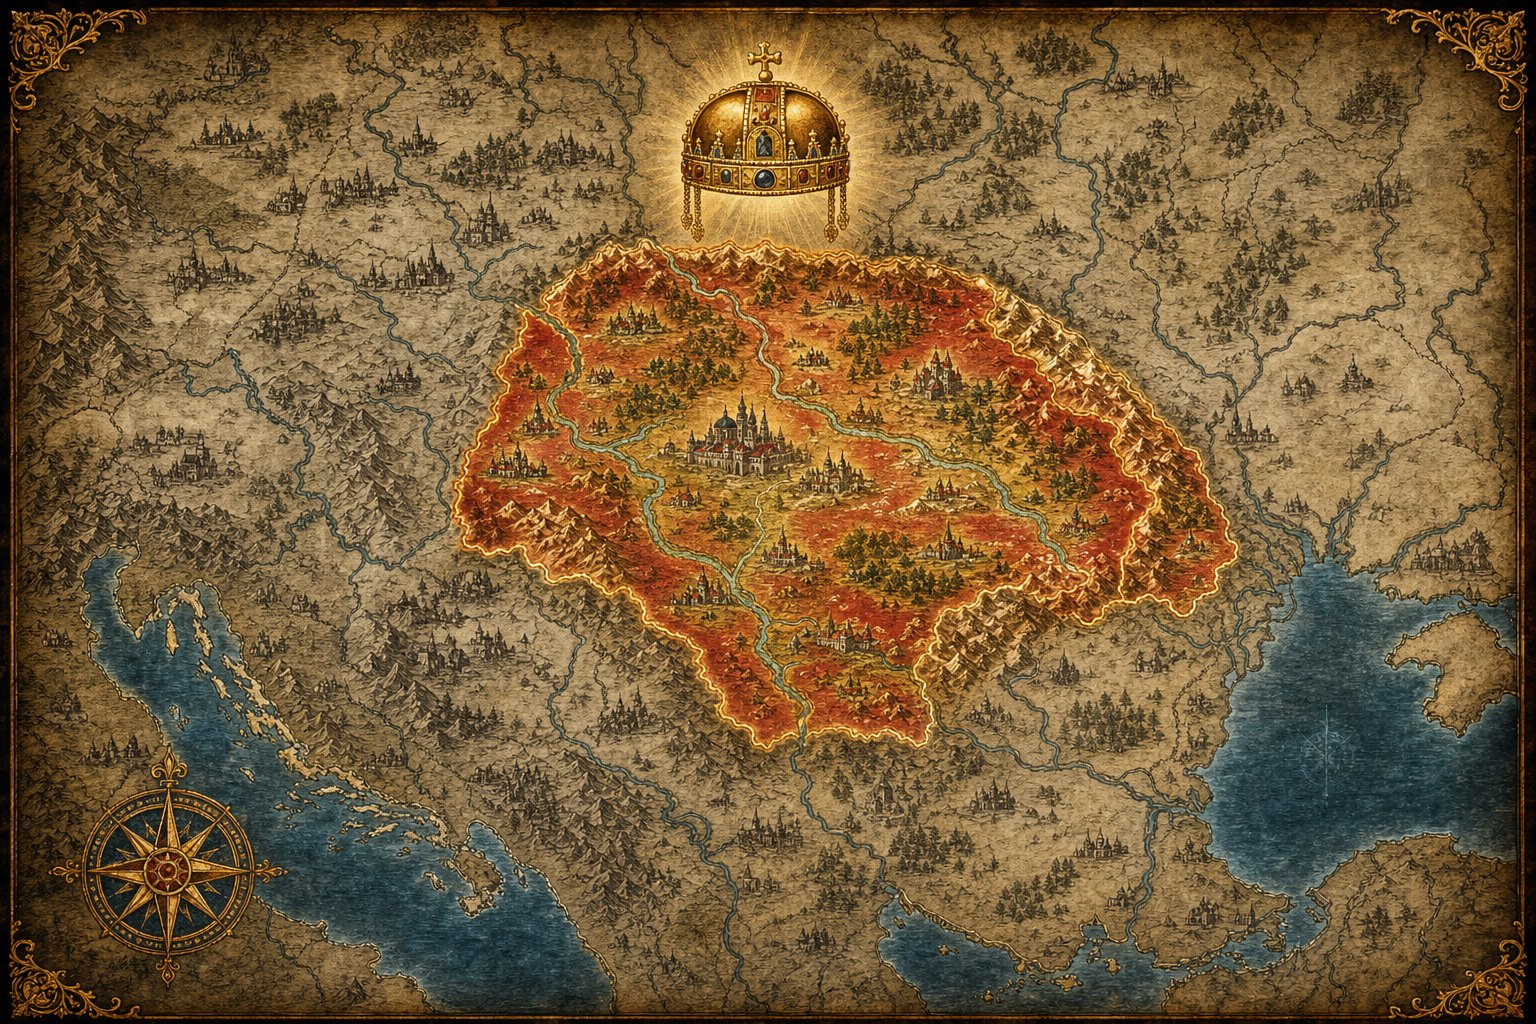
Hungary is the quietest strong start in Europa Universalis 5, and that is exactly why it teaches so well. There is no early navy to mismanage, no scripted great-power war on your doorstep in year one, no colonial race to lose before you understand your own budget. There is just a rich basin, a river that carries your authority across it, and a set of internal knots — a dominant nobility, a banned export, too many cultures, a plague on the way — that the game asks you to untie one at a time. Untie them in order and Hungary becomes absurdly strong. Untie them at random and you will spend fifty years wondering where the money went.
This page gives you the mental model first, then the concrete opening. If you only remember one thing, remember the shape of the engine in the next section — every specific tip below is just one turn of it. If this is your very first EU5 campaign, run the EU5 beginner guide alongside this one; if you are still choosing a country, the starter nations ranking puts Hungary in context.
The Engine: Crown Power, Control, Money
Forget build orders for a moment. Hungary runs on one loop, and once you can see it you will never need to memorize a sequence again. The loop has three gears, and they turn in only one direction:
Crown power buys laws. Laws buy control. Control buys money. Money buys the buildings and armies that buy more land — which you then need more control to hold.
Every mistake a new Hungary player makes is an attempt to turn a later gear before the earlier one is moving. They build a mine in a province they cannot control, and the money never arrives. They declare a Balkan war before the crown can pass a levy law, and the army is too small. They spam a profitable building until the market is saturated, and the income collapses. The engine explains all of it.
Now the single most important distinction in the whole game, the one that separates players who understand the economy from players who fight it. Your income scales with your tax base. Your expenses scale with your economic base. These are not the same number. Stability, diplomacy, and court spending each cost a slice of your economic base — your total wealth — whether that wealth is taxed or not. So when you develop a location, you want the kind of development that raises tax base without raising wealth proportionally. And the lever that does exactly that is control: raising control in a location pulls more of its existing output into your taxable base without making the location richer on paper. This is why "get more control" is not vague advice — it is the literal mechanism by which development becomes income instead of expense.
Here is why Hungary is the best classroom for that mechanism. Control spreads outward from your capital and decays with effective distance. Mountains strangle it; flat ground and rivers carry it. Hungary's heartland is the Pannonian plain, flat and crossed by the Danube and its tributaries, with Buda sitting right on the river. That means control propagates across the core almost for free once you build roads, and a single governor placed well can cover enormous distance. A country with a mountain-ringed capital stays stuck in a tiny area no matter how much land it paints; Hungary does not have that problem. The terrain is doing half the work for you.
And then there is the money gear. Hungary sits on the largest concentration of gold and silver in Europe, plus iron, salt, and food. Left in the ground, none of it matters — it only becomes income once control reaches it, workers staff it, and a market carries it. Convert the precious metals into jewelry and export it and Hungary can get filthy rich without conquering a single province. That is the payoff the engine is built to reach, and it is the reason the first decade is internal even though the map looks so tempting.
Keep this picture in your head for the rest of the article: a crown that starts weak and must be strengthened first; a flat, river-fed plain that rewards control investment more than almost anywhere; and a treasury that fills only in the order crown → control → money. Every tip below is one turn of that engine.
Before You Unpause: Reading the Anjou Start
The durable skill in EU5 is not knowing a build order — balance changes move the numbers every update. It is reading a start screen the way a veteran does, so you can reconstruct the plan yourself in any version of the game. Before you unpause Hungary, spend five minutes on these checks. They tell you everything a tier list would tell you, and they do not go stale.
| What to read | Where in-game | What Hungary shows you, and what to do about it |
|---|---|---|
| Crown power | Government panel | It starts low — roughly a fifth of the realm answers to the crown. This is your first problem and your first project. Read the exact figure live; the number matters less than the direction you are about to push it. |
| Cultural capacity | Country overview, culture panel | You start over the cap, carrying cultures you do not need. Drop the tolerated ones you can release or discriminate safely before you do anything else, or every action costs extra. |
| The gold-export law | Laws / parliament | A law bans or restricts the export of gold and silver — the very thing that makes Hungary rich. Your first parliament exists to repeal it. |
| The cabinet | Government panel, cabinet tab | A family member can be made head of cabinet for a large crown-power bonus. An early event may also grant a temporary extra cabinet seat — always take it. |
| Rivals and complacency | Diplomacy screen | If no rival counts as a genuine threat, you eat a complacency penalty. Set plausible rivals manually; you can revoke them later for a small cost. |
| Croatia and the union | Diplomacy, international organizations | You begin tied to Croatia, but not firmly as the senior partner. This relationship needs deliberate work early or it drifts away. |
Two of those rows deserve extra emphasis because beginners systematically misread them.
The first is cultural capacity. Hungary starts above its limit, which sounds like a small thing and is not — being over capacity taxes your actions until you fix it. The fix is also your first lesson in how cultures work. Remove the cultures you do not need: the ones you can safely release as a subject (Transylvania pops up as a loyal Hungarian-Catholic fiefdom that will convert and assimilate the region for you) or discriminate without consequence. Then, once you research the unique advance that expands cultural capacity — Hungary gets a flat bonus here that few nations match — start accepting the regional cultures properly, beginning with the one closest to your own. Accepting is cheap; the point is to stop bleeding capacity on people you will never integrate.
The second is the cabinet. Making a royal family member head of cabinet grants a large crown-power bonus, and the game hands you a particularly clean option: a bastard son who cannot inherit the throne, so he is a free appointment with no succession cost. Read the tooltip on the cabinet screen for the exact current bonus — it is one of the biggest single crown-power levers you have, and it costs nothing to take. While you are there, grab the temporary extra cabinet seat from the early event if it fires; it lasts only until that character dies, so it is use-it-or-lose-it.
Notice what is not on this checklist: the border, the army, the neighbors' troop counts. Those matter later. Right now the only map you are reading is the internal one — crown, cultures, laws, cabinet. That is the engine, and you cannot drive it until you have looked under the hood.
Years 1–10: Build the Engine, Not the Map
The first decade is internal, and that is not a consolation prize. You are not wasting time by building the base — you are making every later war cheaper and every later province actually worth holding. A veteran Hungary player spends the opening years doing almost nothing on the map, and then spends the next forty doing whatever they want. The sequence below is the engine turned by hand, gear by gear.
First, stack crown power so you can pass anything. The whole early game is a crown-power ramp, and the keystone of that ramp is the centralization value. Centralization is the rare modifier that pays you twice: it raises crown power directly, so you can pass more laws, and it raises the speed at which control spreads from your capital, so the laws you pass actually reach the land. For a flat, river-fed country like Hungary it is the single best value in the game. Push it as soon as you can afford it, and read its live effect in the values panel rather than trusting any fixed number.
Second, order the estate laws so each one funds the next. You cannot pass everything at once — crown power is scarce, and every law has a cost. The trick is to spend power in an order where each purchase unlocks the next:
| Order | Law / value | Why it comes here |
|---|---|---|
| 1 | Favor the ruler (state law) | A large, immediate crown-power boost. It costs estate satisfaction, which is why you spend it first, while satisfaction is full. |
| 2 | Centralization value | The keystone: more crown power and faster control spread. Everything after this is cheaper and reaches further. |
| 3 | Revoke the bad decentralization law | It gives nothing and drags on you, but it is expensive to remove — which is why you needed the crown power from steps 1 and 2 first. |
| 4 | Burgher laws: market attraction, urban development, production efficiency | Now that the crown is strong, spend on the laws that grow the money gear. Grant the cheap satisfaction-givers freely; they cost little and keep the burghers loyal. |
Third, hold your first parliament to fix the economy's one knot. Request the change that lifts the ban on exporting gold and silver, then use the support tools — a tax exemption here, an agenda there — to claw the vote back toward fifty percent. This single parliament teaches you laws, parliamentary support, and trade in one move, and it unlocks the export income that the rest of the economy is built on. In the same assembly, push the legislation that shifts administration toward a central council; it is the parliamentary expression of the same centralization idea.
Fourth, max legitimacy and keep it there. Legitimacy is one of the best flat stats to stack in the game, and it has a quiet economic benefit: at maximum, your court upkeeps cheaper, so you spend less every month for the rest of the campaign. Point a cabinet member at stabilizing the country, spend on legitimacy early, and treat it as a permanent investment rather than a slider you toggle.
Fifth, build the hospital before the plague, not after. The Black Death reaches Hungary within roughly a decade, and the capital is the last place you want it to bite. A hospital in Buda raises the life expectancy of characters living there and blunts the worst of the disease. Build it in the first years, while you have the cash and before the event fires — this is the one piece of the first decade that is genuinely on a timer. Alongside it, keep a stability buffer; the plague hits stability, and a buffer is the difference between a bad decade and a lost one. The estates and crown power guide covers the satisfaction thresholds and privilege costs that make this sequence tick.
Only after all five gears are turning should you look at the map. By then the crown can pass laws on demand, control is spreading down the Danube on its own, the export income is flowing, and you have a cash reserve for the hard years ahead. That is what a good first decade looks like — and it is why the second decade feels like a different game.
The Economy: Gold, Demand, and the Lying Tooltip
Hungary's economy has a reputation for being almost passive: mine the gold, sell the gold, get rich. The reputation is half right. The gold and silver are real, and converting them into jewelry for export is the correct endgame. But the path there has two traps that sink beginners, and understanding both is the difference between a treasury that grows and one that mysteriously does not.
Trap one: the profitable-building tooltip is lying to you. When you filter buildings by profitability, jewelry looks absurdly good early on — so good that the obvious move is to build it everywhere. Do not. A production building's profit depends on demand, and demand saturates. The first jeweler's guild sells into a hungry market at a fat margin; the fifth sells into a flooded market at a thin one. The tooltip shows you the margin on the next unit, assuming nothing else changes, and everything else always changes. Build a few of the high-demand guilds — jewelers, tailors, carpenters — and stop while they are still profitable. Spreading a little demand-creation across several goods beats stacking one good into the ground.
This is also why the "boring" demand-creating buildings are worth more than their direct profit suggests. Scriptoriums and monasteries consume paper, dye, and wood and produce books; they rarely show a clean profit line. But they manufacture internal market demand, and the burghers they employ become taxable income. A building that breaks even on its own can still be profitable through the taxes it generates. Judge buildings by what they do to the whole market, not by their own tooltip.
Trap two: investing where you have no control. This is the tax-base-versus-economic-base rule from the engine section, applied. Before you build anything in a location, open the control map mode. Wherever control is high — comfortably above two-thirds — development raises your tax base and pays for itself. Wherever control is low, the same development raises your economic base (your expenses) faster than it raises your tax base (your income), and you lose money on the deal. The correct response to a low-control gold mine is not to build it. It is to raise control first — a cabinet member on increase-control, a road, a governor — and come back when the numbers work. Patience here is literally profitable.
| Location profile | Read on the control map | Decision |
|---|---|---|
| High control, weak resource (saltpeter, horses, game, grain, wine) | Control comfortably above two-thirds | Urbanize it — turn a poor rural spot into a taxable town. |
| High control, strong resource (gold, silver, iron, lumber) | Control comfortably above two-thirds | Keep it rural and develop the resource, unless you already have a surplus. |
| Food-producing location a province needs for winter | Any | Keep it rural even if the resource is mediocre — the province starves without it. |
| Low control, any resource | Control well below half | Do nothing. Raise control first, or hand the land to a subject. |
Two more economy habits separate a smooth Hungary from a rough one. First, the market only reaches what has market access: a region with no market of its own sends almost nothing to Buda, and you will see it sitting at a punishing market-access penalty in the economy panel. When you develop a distant region, found a market there — only towns and cities can hold one — or its output never reaches you. Second, and this one is specific to Hungary: winter is an economic hazard. Food production collapses in the deep winter months, your income drops with it, and you must buy food to keep the population fed. If you spend freely into December with no reserve, you will starve into spring. Save through autumn, watch the food bought-versus-sold line continuously, and build granaries later to store food in the market. It is a small, boring discipline that quietly decides Hungarian campaigns.
The EU5 economy guide explains the full tax-base pipeline, and the trade and markets guide covers how resources actually reach your treasury — both are worth keeping open during your first decade.
Control Is the Whole Game
If the economy section had one rule, this section has one principle: proximity is control. A location you cannot reach is a location you cannot rule, no matter who owns it on the map. Control spreads outward from your capital, carried by governors, roads, urbanization, and rivers, and it dies with distance. Everything you do to extend it is an investment in making your own land actually yours.
Hungary is the best place in the game to learn this, because the terrain pays you back. The Danube runs through the heart of the kingdom and acts as a control highway; Buda sits on it, so authority propagates down the river almost for free. Flat ground spreads control easily, and most of Hungary's core is flat. Build roads along the Danube and watch the value climb — a single road can lift a province's control by a visible margin, and riverside locations upgraded to towns carry that value further still. Line the Danube with towns and cities and you have built the spine of the entire economy. This is the one geographic fact about Hungary that matters more than any other.
The modifiers stack, and stacking them is the mid-game. Centralization lowers the cost of proximity itself. Roads and bridges carry control across ground that would otherwise decay it — a bridge can only go where a road already crosses a river, and it cheapens both proximity and movement. Lakes reduce proximity cost too, so a province across Lake Balaton may be closer than it looks. And where the network cannot reach — a remote mining province with too many locations between it and the capital — a bailiff acts as a temporary local source of proximity, buying you control until the roads catch up. Read each modifier's live value in its tooltip; the names stay stable, the numbers do not.
Now the part that saves you from yourself: know where control stops, and stop with it. Mountains and hills sharply raise the cost of proximity, and the Balkan edges of Hungary's reach are exactly that kind of ground. Pushing roads into rough, distant terrain expecting control is how beginners pour money into provinces that never pay it back — the proximity simply stops partway, no matter how much you build. The correct answer for that land is not more roads. It is a subject. Keep the mountains as loyal buffer states and integrate them never, or only much later when research makes it cheap. The control guide walks through exactly how proximity, roads, and terrain combine.
The same logic tells you where to found new markets. The eastern reaches — Transylvania, Moldavia — sit too far from the Pest market for their output to reach you; their market access withers the further east you look. Rather than fight the distance, found a central market in the east, in a location that already sits near the gold, silver, and salt you want. A market placed where control is already decent turns a dead region into a productive one in a way that no amount of road-building from Buda can match.
The Personal Union Long Game
Here is the part of Hungary that no other beginner nation offers in the same form. Hungary is the personal-union capital of Europa Universalis 5. The Anjou dynasty already rules across multiple realms at the start, and with patient dynastic play you can gather an entire bloc of kingdoms under one crown — not by conquest, but by marriage, inheritance, and the slow work of succession law. It is the most flavorful way to play Hungary, and it deserves its own section because it runs on a completely different clock from the economy.
Be clear-eyed about what it is, though: the union long game is a roleplay strategy, not the optimal one. Unlike the old days, where a senior partner essentially controlled its juniors, EU5's unions give you relatively little direct benefit for the effort. You do it because watching the Anjou realms consolidate over generations is genuinely fun — this is how the Habsburgs did it — not because it is the fastest path to a strong Hungary. If you want the strongest possible country, build the engine and expand normally. If you want a story, play the unions. Both are correct; only one is a tutorial.
The mechanics rest on three ideas. First, unions form through succession. If your ruler is the heir to another throne, then when that country's ruler dies, your ruler takes both crowns — that is how Naples typically falls into Hungarian hands, since the Neapolitan ruler starts old and your king is his heir. Alternatively, marry your heir to a foreign heiress; their child inherits both realms. The planning tool is the dynastic map mode, which shows every country your dynasty currently rules. Second, union voting power is your great-power score. In the union parliament, votes track almost exactly how strong each member is, which means a junior that outgrows you — Naples, if you let it run hot through Italy — can threaten your senior status and flip the whole bloc. Stay the strongest power in the union, always. Third, integration is a ladder you climb one rung at a time. You pass policies in sequence — establish seniority, then a unified succession law, then a unified treasury, and onward toward full unification — and each rung raises your control over the juniors. Rushing the top rungs backfires: the juniors can band together to outvote you and knock you back down a level.
| Realm | How it joins | The catch |
|---|---|---|
| Croatia | Already in union at start | You are not firmly the senior partner. Establish seniority early or it drifts. |
| Naples | Inheritance — your king is the heir | A strong junior; if it outgrows you, the union flips to Naples. Keep it loose enough to conquer Italy for you, strong enough to never lead. |
| Provence | Marriage — wed an heir into its line | Verify the target is genuinely in the succession before marrying; a mistimed marriage tangles the whole plan. |
| Poland | Event — a shared inheritance pact | The trap. Accepting it locks your succession law and can block both cognatic primogeniture and the Naples path. Weigh the legitimacy it grants against the doors it closes. |
The one decision that trips everyone up is Poland. Early on, an event offers a shared inheritance law — if either king dies without an heir, the other inherits, and Poland's king starts childless, so it is very much live. The legitimacy it grants is real. But accepting it locks your succession law, and that lock can close off the cleaner paths to Naples and Provence, and block cognatic primogeniture, one of the best succession laws in the game. There is no universal answer; it depends on which realms you actually want and how your rulers are aging. The principle is to decide your dynastic targets first, then take only the pacts that serve them. A law change takes years to process, so whatever you choose, align succession ahead of time — if your heir is not also heir to a junior when your ruler dies, that junior simply leaves.
None of this is urgent in the first fifty years. The unions are a multi-generational project, a background hum beneath the real work of the engine. Tend Croatia, position for Naples, and let the marriages mature while your economy does the heavy lifting. The diplomacy guide covers the alliance and opinion mechanics that keep a union bloc from turning on you.
War and the Balkans: Subjugate, Don't Annex
Hungary's natural direction is south, into the Balkans, and the army to do it. The starting cavalry advance makes Hungarian horsemen very strong in the early era, the levies are among the largest in Europe, and Hungary is the only Catholic power in its region — which, once you research the religious-war advance, gives you a free religious casus belli against essentially every neighbor. On paper, you could conquer the whole peninsula. You should not. The principle that governs Hungarian war is simple: subjugate the Balkans, do not annex them.
The reason is the control lesson again. Balkan terrain is rough, the provinces are far from Buda, and integrating them directly means decades of low control, foreign cultures, and expenses that outrun the income. A subject, by contrast, holds that land for you, buffers your border, and costs almost nothing to maintain. The specific instrument matters: release conquered territory as a fiefdom rather than a vassal wherever you can, because a fiefdom does not consume one of your own characters to staff a subject court, and early-game you cannot spare them. Build a web of loyal fiefdoms across the peninsula and integrate the useful ones much later, when research makes annexation cheap and your control frontier has reached them.
There is one refinement to that advice, and it is the lesson experienced players learn the hard way: fewer, bigger subjects beat a swarm of small ones. Every extra subject pushes your realm toward decentralization, and a dozen tiny vassals will drag that meter far enough to hurt. Feed your conquests to one or two large subjects and let them grow, rather than releasing a new micro-state for every province. If you already made a swarm the old way, the fix is to annex the smallest subjects back into the larger ones.
| Target | Why it falls | What to do with it |
|---|---|---|
| Serbia | Weak, often already at war; the AI strips its own forts. | Take a few provinces per war, release the rest to a subject. Keep one Serbian vassal alive to later accept the culture cheaply. |
| Wallachia | Isolated and immediately vassalizable. | Subjugate, then knock out its allies before they react. |
| Bulgaria | Coalition-prone but outmatched by your levies. | Take the market center and the gold locations, then disband the coalition once truces settle. |
| Byzantium | Rich, reachable, and a prize worth an early war. | Get military access first, release the conquests as fiefdoms, and consider a coastal governor to project power further. |
Two strategic notes. First, defender wars are almost free: when a neighbor attacks one of your subjects, you join as the defender and pay little to no extra conquest cost, which is how you can take a great deal of land for almost nothing. Let your subjects be the bait. Second, the two powers that actually matter are the Ottomans, consolidating to the south and destined to push into the Balkans, and the Golden Horde to the east, which can collapse early and leave a power vacuum. You do not need to fight either in the first fifty years — but you should not let them, or the Byzantines, grab the Balkan gold and silver provinces before you do. Securing those provinces as buffers, even through subjects, is the real strategic race of the Hungarian early game. The warfare guide covers levies, supply, and sieges before your first campaign.
One advanced pattern is worth knowing exists: a naval governor in a captured Constantinople can even project control into Anatolia. Leave it for a second campaign — but file it away.
Beginner Mistakes That Quietly Lose Hungary
Hungary rarely loses dramatically. It loses quietly — a treasury that never fills, a province that never pays for itself, a union that slips away while you were looking elsewhere. These are the mistakes that cause it, and the fix for each is one turn of the engine.
| Mistake | Why it hurts | The engine fix |
|---|---|---|
| Building mines and guilds before control reaches them | Development raises expenses faster than income; the money never arrives. | Check the control map first. Raise control, then invest. |
| Spamming one profitable building | Demand saturates and the tooltip's margin evaporates. | Build a few high-demand guilds, then stop while they are profitable. |
| Annexing the Balkans directly | Decades of low control, foreign cultures, and net-negative provinces. | Release fiefdoms; integrate only later, and only where control reaches. |
| Making a swarm of tiny subjects | Each one pushes decentralization; a dozen cripples the realm. | Fewer, bigger subjects. Annex the small ones back in. |
| Spending into winter with no reserve | Food production collapses, income crashes, the population starves. | Save through autumn; watch the food line; build granaries later. |
| Ignoring the plague until it arrives | The capital gets hit hardest and stability collapses. | Build the hospital in the first decade; keep a stability buffer. |
| Letting a union junior outgrow you | Senior status flips and the bloc becomes someone else's. | Stay the strongest great power in the union, always. |
| Leaving the rival slots empty | No credible threat means a complacency penalty. | Set plausible rivals manually; revoke them later if you must. |
| Stripping every fortification | Saves money now, leaves the country wide open later. | Keep the capital and border forts; cut only the redundant interior ones. |
FAQ
Is Hungary the best beginner country in EU5?
It is one of the two safest first picks, alongside Castile. Hungary is the answer if you want a quiet, land-only campaign that teaches economy and control without forcing early naval or exploration management. Castile is the better all-round teacher if you want more diplomacy, war, and eventual colonization. You cannot go wrong with either; Hungary is simply the gentler of the two.
What should Hungary build first?
Nothing on the map — build the engine. A hospital in Buda before the plague, the centralization value, the estate laws that favor the crown, and the parliament that repeals the gold-export ban. Only then do you build outward: roads down the Danube, a few high-demand guilds, and mines in locations where control is already high.
Why is my gold mine not making money?
Almost always control. A mine in a low-control location raises your expenses faster than your income. Open the control map mode; if the location is below roughly two-thirds control, raise control first — a cabinet member, a road, a governor — and the income will appear. The resource was never the problem; reaching it was.
Should Hungary expand into the Balkans early?
Only after the engine is turning, and only as subjugation, not annexation. The Balkans are Hungary's natural direction, but the terrain is rough and the provinces are far from Buda. Release what you conquer as fiefdoms, keep the mountains as buffers, and integrate the useful land much later when it is cheap.
Are the personal unions worth it?
For fun, absolutely; for raw power, not especially. The Anjou union bloc — Croatia, Naples, Provence, a possible Poland — is the most flavorful way to play Hungary and a genuinely rewarding multi-generational project. But it gives less direct benefit than conquest, so treat it as a roleplay long game layered on top of a strong economy, not as the fastest path to a dominant Hungary.
How do I keep the game from outpacing me on a new patch?
Stop memorizing numbers and read the panels. The names of laws, values, and buildings stay stable; their values move. Crown power, cultural capacity, control, market access, and each modifier's tooltip are all live in-game. The engine — crown power, control, money — has not changed, and if you understand why each gear turns, you can reconstruct the whole plan from the start screen in any version of the game.
Next Reads
- EU5 Beginner Guide: First 50 Years — the full opening checklist for any nation.
- Best Starter Nations in EU5 — how Hungary compares with Castile, Portugal, and the rest.
- Castile First 50 Years — the other safe first campaign, with more diplomacy and war.
- Portugal First 50 Years — the maritime and colonial route, once you want a navy.
- EU5 Economy Guide — the tax-base pipeline, markets, and minting in depth.
- EU5 Control Guide — why rivers, roads, and capitals decide how much of your country you own.
- EU5 Estates and Crown Power Guide — satisfaction thresholds, privileges, and parliament.
- EU5 Trade and Markets Guide — how gold and goods actually reach your treasury.
- EU5 Buildings and Production Methods Guide — before you commit to a big construction plan.
- EU5 Warfare Guide — levies, supply, and sieges before your first Balkan war.
- EU5 Diplomacy Guide — alliances, unions, coalitions, and subjects.
- EU5 Austria Guide and EU5 Ireland Guide — two sharper country routes once the basics are second nature.